Hire Us
Documentation

GISL Press Kit Docs

Setup guides, tips and answers for GISL Press Kit. Search below or jump to a topic in the guide.
GISL Press Kit
Shopify App · Version 1.0.0
View Product →
In This Guide

Requirements

  • A Shopify store with the Online Store sales channel.
  • Permission to install apps (store owner or staff with app permissions).
  • Permission to edit your theme in the theme editor, to place the press releases on a page.
  • No coding needed.

Install the App

  1. Open GISL Press Kit on the Shopify App Store.
  2. Click Install and choose your store.
  3. Review the data the app asks for and click Install again.

The app asks for access to staff names and contact details, to custom data (metaobjects) and to your Files, so it can save your releases and use your images. GISL Press Kit is free, so there is no plan to choose and no charge to approve.

Write a Press Release

  1. In your Shopify admin, go to Apps → GISL Press Kit.
  2. Click Add New.
  3. Add the title and the text of your announcement.
  4. Choose the category, author, date and featured image.
  5. Save the release.

Your releases are listed on the app’s home page with their image, title, author, category and date. Use the search box above the list to find a release by title, author or category, and the pencil and bin icons to edit or delete it.

Tip: Write the first paragraph so it works on its own: who, what, when and why. Journalists often quote it word for word.

Categories and Images

Group releases by category, for example Company, Product or Award, so visitors can find what they need. To fill in: where categories are created and renamed, for example Apps → GISL Press Kit → Settings

On your store, visitors can pick a category from the All categories list or search by title.

The featured image of a release is picked from the media you already have in Shopify. To use a new image, upload it first in Content → Files (in older admins: Settings → Files), then pick it in the release.

Add Releases to Your Store

  1. Create the page that will hold your news, for example Newsroom, in Online Store → Pages.
  2. Go to Online Store → Themes and click Customize.
  3. Open that page in the theme editor.
  4. Click Add block (or Add section), open the Apps tab and choose To fill in: the block name, for example GISL Press Releases.
  5. Click Save.

The block shows your releases as cards with their image, category, title, a short excerpt, the author and the date. Visitors can filter by category, search by title and click Show More to load more releases.

Your theme code is not changed. To remove the releases from a page, delete the block in the theme editor.

Match Your Theme and Share

In the theme editor, select the GISL Press Kit block to set its colours and width so it matches your theme.

Each release gets its own page on your domain: To fill in: the address pattern, for example /pages/news/release-name. Send that link to journalists or share it on social media.

To help visitors find your newsroom, add it to your store menu:

  1. In Shopify admin, go to Content → Menus (in older admins: Online Store → Navigation).
  2. Open your Footer menu and click Add menu item.
  3. Name it Newsroom or Press, link it to your news page, and click Save.

Pricing and Uninstalling

GISL Press Kit is free. Nothing is added to your Shopify invoice. If we add a paid plan in a future update, we will announce it first, and Shopify always asks you to approve a charge before you pay anything.

To uninstall the app, go to Settings → Apps, find GISL Press Kit, open the menu and choose Uninstall. See the GISL Press Kit privacy policy for what happens to your data.


Troubleshooting

  • My releases do not show on the store: check that the GISL Press Kit block is added to the page in the theme editor, that you clicked Save, and that the release is saved.
  • A release has no image: pick a featured image from your Shopify Files.
  • The block does not match my theme: change its colours and width in the theme editor.
  • Changes do not show: refresh the page or open it in a private window to skip your browser cache.
  • Still stuck? Open a support ticket and include your store address.
No articles for this product yet. Our developers can help in the meantime.

Can’t Find What You Need?

Our developers answer every ticket, usually within one business day.

Need a Custom Plugin
or Shopify App?

Premium WordPress plugins and Shopify apps, built and supported by Golden Info Systems Ltd., Dhaka.
support@gplagfy.com
© 2026 Gplagfy · Golden Info Systems Ltd.
Follow Us :
Optivo Product Options icon
Optivo
Product Options for Shopify
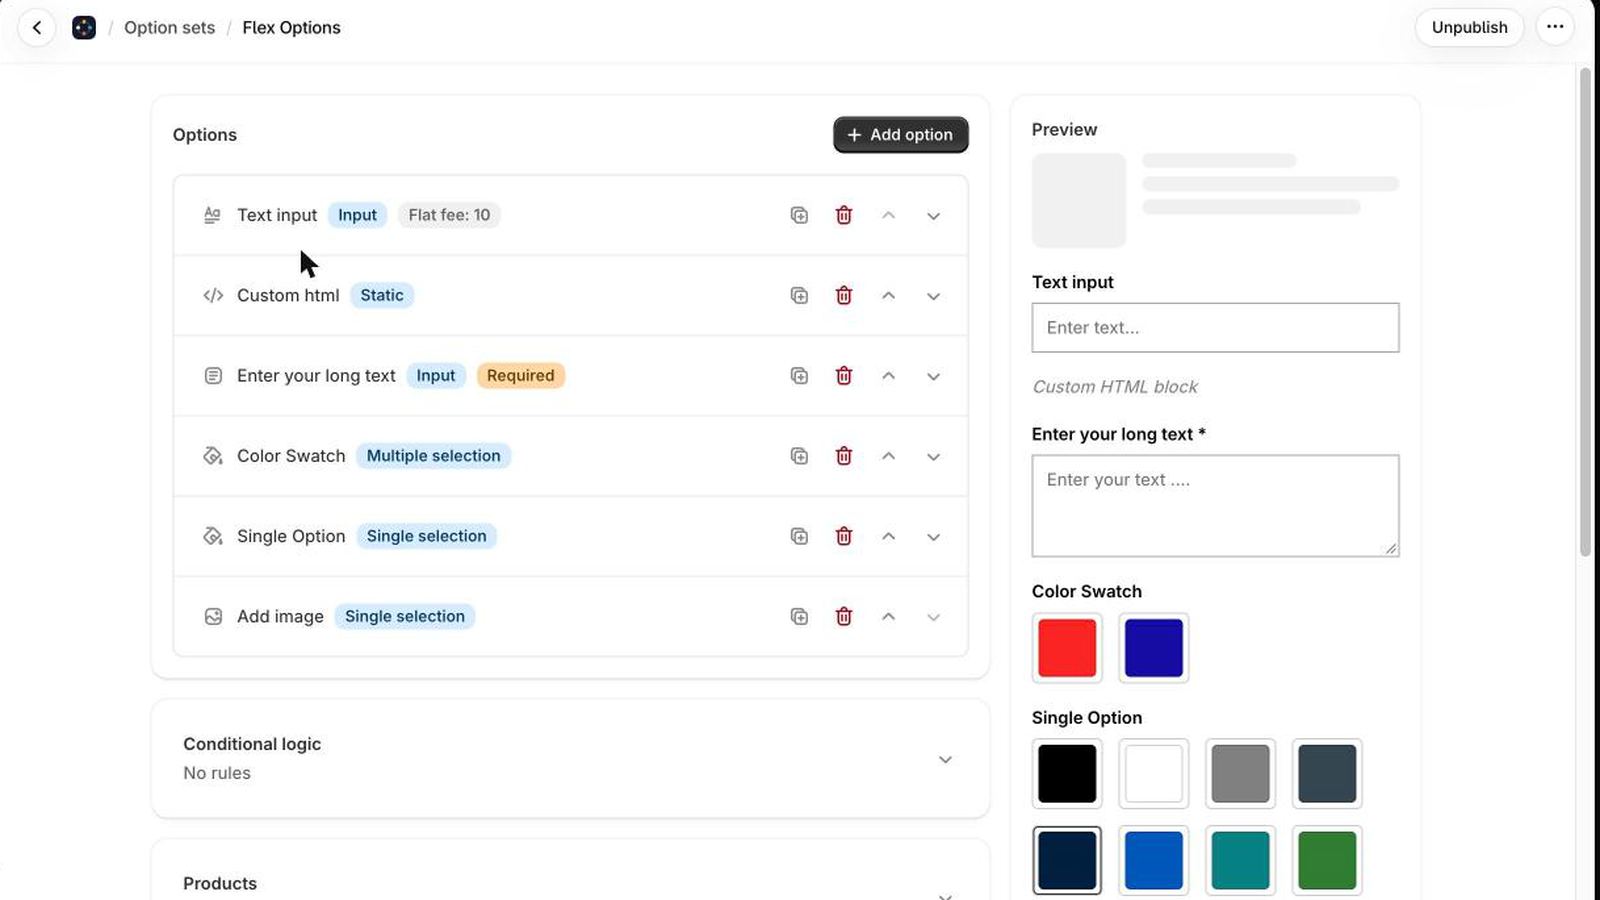
Optivo option set editor with a live preview of the options
20 option types
No variants
Charged at checkout
New on the Shopify App Store

Product options without the variant mess

Engraving, swatches, dates, checkboxes and add-on prices on any product. Choices are saved on the cart line, so your catalogue keeps only the SKUs you built.
Start with
Free plan
Upgrade from
$9.99 / month
crossmenu